| Brand Name: | ANS |
| Model Number: | EVA03B |
| MOQ: | 1 |
| Delivery Time: | 20-30days |
| Payment Terms: | L/C,T/T,Western Union |
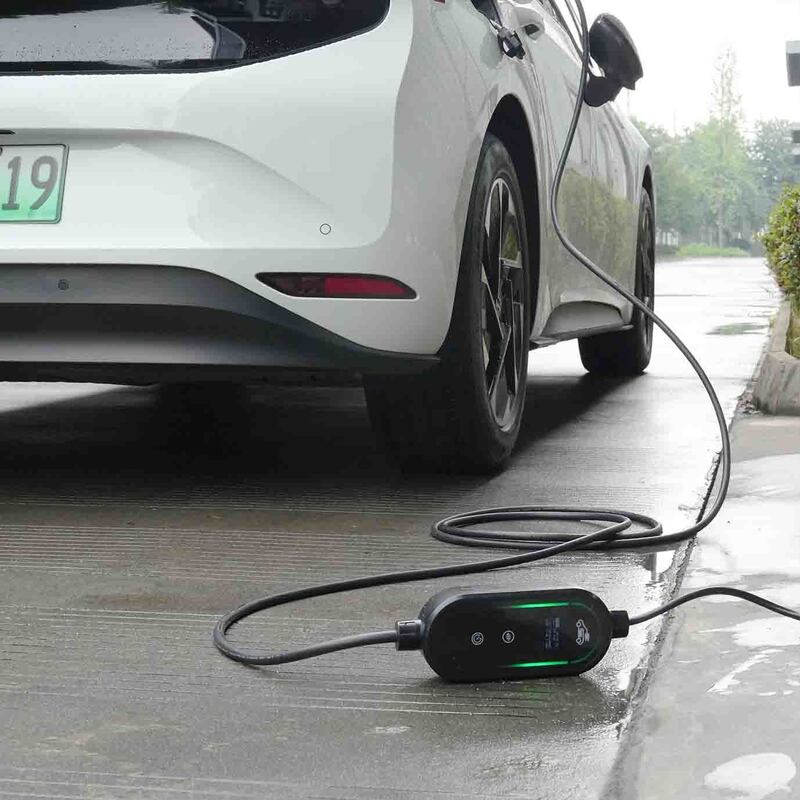
Weighing just 2.1kg and featuring a compact design, the EVA03B is one of the most portable EV chargers on the market. Its 5-meter cable provides flexibility for hard-to-reach charging points. The product includes adjustable current settings, delayed charging, and touch-key controls for enhanced usability. Constructed with high-quality tempered glass and PC materials, it is both elegant and resilient. Whether for daily commutes or long trips, the EVA03B offers a perfect blend of portability, power, and protection for modern electric vehicles.
| Product Model EVA03B | |
|---|---|
| Input/Output voltage | AC 110V/230V |
| Input frequency | 50/60Hz |
| Max.output power | 1 - Phase up to 3.7kW(@230V 16A) |
| Max.output current | 16A for 1 - Phase |
| Standard | IEC 62752:2016/COR1:2019 |
| Protection | |
| Certificate | CE |
| Over voltage protection | Yes |
| Under voltage protection | Yes |
| Over load protection | Yes |
| Short circuit protection | Yes |
| Leakage protection | Yes |
| Over - temp protection | Yes |
| Lightning protection | Yes |
| Function and Accessory | |
| LED indicators | Yes |
| OLED screen | Yes |
| RCD | Type B |
| Current adjustment | Yes |
| Delay charging adjustment | Yes |
| Ethernet/WIFI/4G/Bluetooth | No |
| Working environment | |
| Protection degree | IP 67 |
| Operation temperature | -30℃ - 60℃ |
| Relative humidity | ≤95%RH |
| Operating elevation limit | ≤2000m |
| Cooling | Natural air cooling |
| Standby power consumption | <0.5W |
| Mechanical parameters | |
| Charging cable | 5m (Standard configuration) |
| Control box | H×W×D = 200mm×90mm×52mm |
| Weight | ≤2.1kg |
| Colour&Material | Black;Tempered Glass,PC |
Step 1: Put the wall bracket in a proper position on the wall, mark theposition of the top two screw holes on the wall using a pencil.
Step 2: Put down the wall bracket and drill the holes just marked. insertthe expansion plugs and fix the wall bracket to the wall usingself-tapping screws.
Step 3: First insert the device into the upper mounting hole of the wallbracket. Then into the round hole of the bottom bracket andfix it on the wall bracket using combination screws.
Overall Rating
Rating Snapshot
The following is the distribution of all ratingsAll Reviews