|
|
| Brand Name: | ANS |
| Model Number: | EVB07B |
| MOQ: | 1 |
| Packaging Details: | 15.7*15*3.15(in) |
| Payment Terms: | L/C, T/T, Western Union |
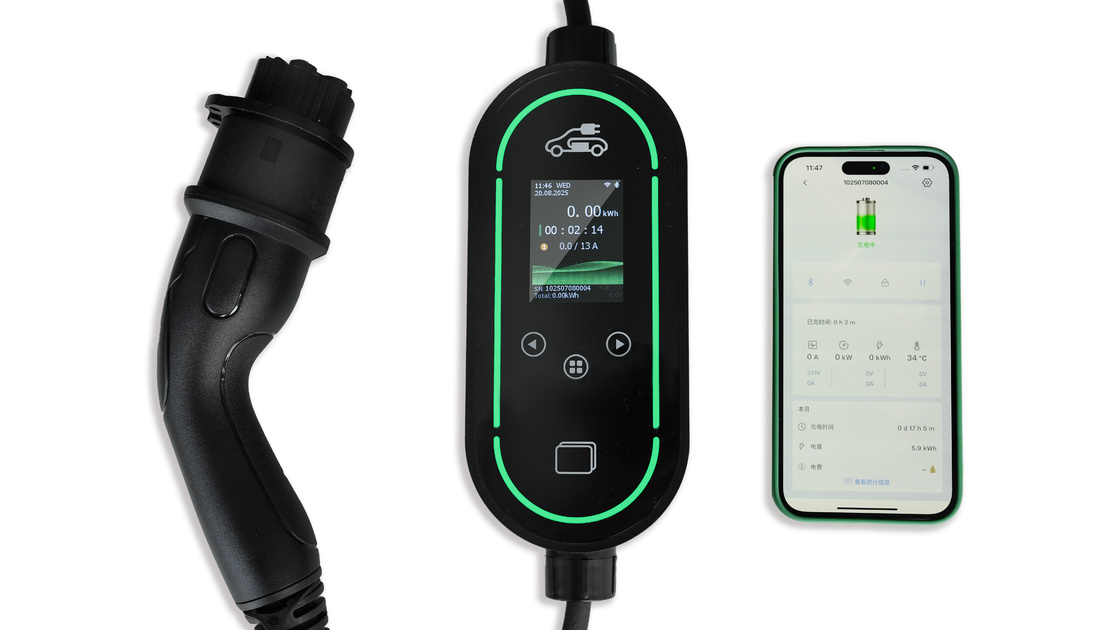
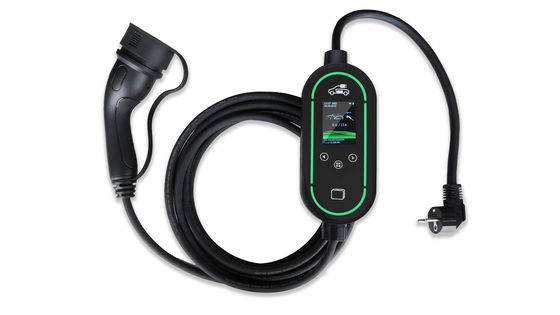
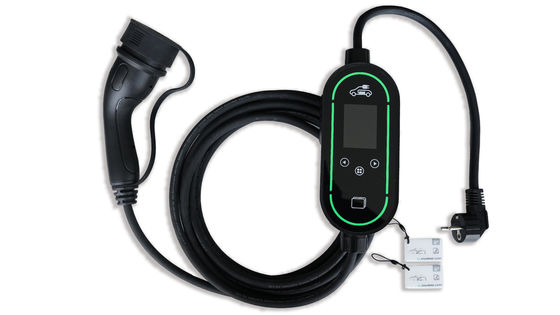
3 Phase 11kw Portable Home Ev Charger With CE Certification
Product Description
Specificaiton
| Product Model EVB07B | |
| Input/Output voltage | AC 110V/230V |
| Input frequency | 50/60Hz |
| Max.output power | 1 - Phase up to 7.36kW(@230V 16A) |
| Max.output current | 32A for 1 - Phase |
| Standard | IEC 62752:2016/COR1:2019 |
| Certificate | CE,RoHS |
| Protection | |
| Over voltage protection | Yes |
| Under voltage protection | Yes |
| Over load protection | Yes |
| Short circuit protection | Yes |
| Leakage protection | Yes |
| Over - temp protection | Yes |
| Lightning protection | Yes |
| Function and Accessory | |
| LED indicators | Yes |
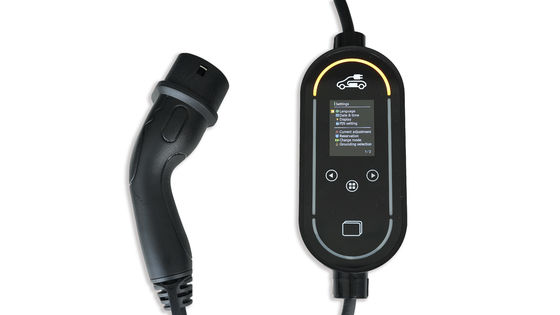
| Led screen | 2.4-inch |
| RCD | Type B((AC 30mA+DC 6mA) |
| Current adjustment | Yes |
| Relay adhesion detection | Yes |
| RFID manageable | Yes |
| WIFI/Bluetooth | Yes(WIFI 2.4GHz) |
| Working environment | |
| Protection degree | IP 67 |
| Operation temperature | -30℃ - 55℃ |
| Relative humidity | ≤95%RH |
| Operating elevation limit | ≤2000m |
| Cooling | Natural air cooling |
| Standby power consumption | <3W |
| Mechanical parameters | |
| Charging cable | 5m (Standard configuration) |
| Control box | H×W×D = 200mm×90mm×52mm |
| Weight | ≤3kg |
| Colour | Black |
| Material | PC(Flame retardant, UV resistant) |
![]()
Control Box Function:
1. Leakage protection
2. Over-voltage or Low-voltage protection
3. Over-load protection
4. Lightning protection
5. Over-heat protection
6. Change current: 8A 10A 13A 16A
How to install
![]()
Step 1: Put the wall bracket in a proper position on the wall, mark theposition of the top two screw holes on the wall using a pencil.
Step 2: Put down the wall bracket and drill the holes just marked. insertthe expansion plugs and fix the wall bracket to the wall usingself-tapping
screws.
Step 3: First insert the device into the upper mounting hole of the wallbracket. Then into the round hole of the bottom bracket andfix it on the wall bracket using combination screws.
Installation cases
![]()
Packaging
![]()
Our Certification
![]()
Exhibition
![]()
Visits from Various Countries (looking forward to your arrival)
![]()